How to Use a Cordless Impact Driver: A Quick Guide to Its Buttons and Functions
A cordless impact driver has a few key buttons and controls that make it super easy to use. Here's a quick rundown of what you’ll find and how to use them:
-
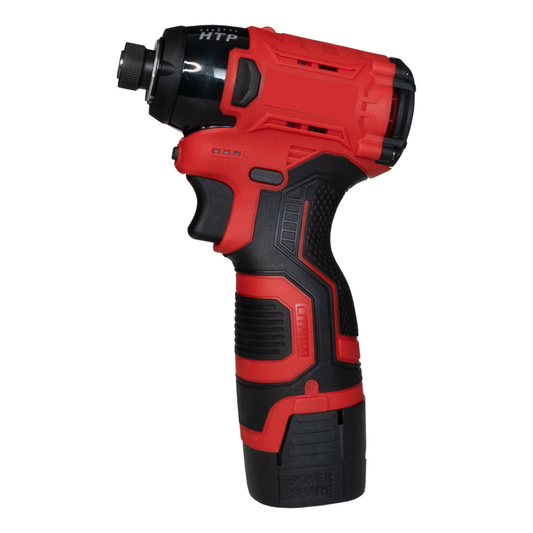
Trigger
The trigger is your main control—it turns the tool on and lets you adjust the speed. Just press it lightly for a slower speed (good for more delicate work), or press harder for a faster speed when you need to tighten or drill quickly. -
Forward/Reverse Button
This one lets you switch the direction of the driver.- Forward (Clockwise): Use this to tighten screws or fasteners.
-
Reverse (Counterclockwise): Use this to loosen them.
Make sure the tool stops before you switch directions to avoid any issues.
-
Speed Control
Some drivers let you control the speed by how hard you press the trigger. Light pressure gives you a slower speed, while pushing harder gives you more power. Some models also have extra dials or buttons to tweak the speed even more. -
Lock Button
This button keeps the tool from accidentally starting up. It’s a safety feature. When you press it, the trigger’s locked, so nothing will happen until you unlock it again. -
Battery Indicator Light
You’ll find this light on the handle, and it shows you how much battery you have left. Green means you’re good to go, yellow means you’ve got some power left, and red means it’s time to charge. Keep an eye on it so you don’t run out of juice mid-task! -
Quick-Change Chuck
This is a handy feature that lets you swap out accessories, like drill bits or screw heads, in a snap. Just pull the lock ring, swap out the bit, and release the ring to lock the new one in place.
If you’re after a solid, reliable cordless impact driver, the RedhawkPro 18V Impact Driver is a great choice. It has plenty of power, a long battery life, and it’s perfect for both DIY projects and tougher tasks. Whether you’re driving screws or drilling holes, this tool has you covered. Definitely worth checking out!