How to Efficiently Remove and Install Car Interiors with an Impact Driver?
When working on car repairs or modifications, removing and installing interior components is a common task. This involves handling door panels, dashboards, seats, glove compartments, and more. Using an impact driver properly can improve efficiency and minimize damage.
Common Car Interior Disassembly Tasks
- Door Panels – Remove screws and carefully pry open plastic clips.
- Dashboard and Center Console – Some screws may be hidden behind air vents or trim covers and should be removed first.
- Seat Screws – Typically secured with hex or Torx screws, requiring the correct bit size for removal.
- Glove Box and Armrest – Usually fastened with Phillips or Torx screws; handle with care to avoid damaging nearby plastic parts.
Key Tips for Disassembling Car Interiors
- Choose the Right Bits – Phillips, Torx, and hex bits are commonly used. Ensure the bit size matches the screw to prevent stripping.
- Adjust Torque Settings – Avoid excessive torque to prevent damage to screws or plastic parts. Start with a low setting and increase as needed.
- Use a Plastic Pry Tool – Many interior parts are held in place with clips; gently pry them open to avoid breakage.
- Magnetic Bits Help – They prevent screws from falling into tight spaces, improving efficiency.
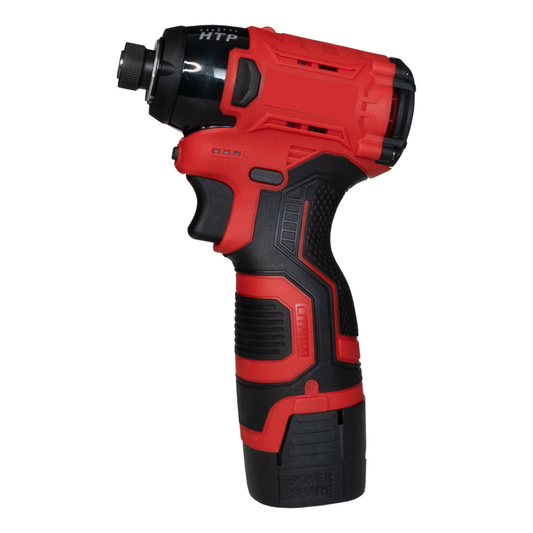
RedHawkPro Impact Driver
If you're looking for a powerful and reliable impact driver, the RedHawkPro Impact Driver is a great choice. It offers adjustable torque settings suitable for various car interior screws while being lightweight and comfortable for extended use. Whether you're a DIY enthusiast or a professional technician, this tool makes disassembly and installation much easier.